By default, our Brixly Workspace is provided under an 'unbranded' / white-label domain...
https://mail.hostns.io
The above URL can be used to access the webmail interface / CrossBox, and can also be used as the incoming / outgoing mail servers to provide a secure / SSL connection to the mail service.
However, there may be certain cases where you instead want to use your own URL in place of the above, such as 'mail.yourdomain.com' or 'webmail.yourdomain.com'.
To do this, we would need to create an 'administrative' user, who then has access to the Workspace Branding configuration...
Create an 'admin' user for your brand / domain
An 'admin' user can be created, which will give you additional access via the CrossBox interface, allowing you to configure 'branding' for your particular domain.
To get started, go to the client area and navigate to the following...
Client Area -> Services -> My Services ->
Select the Brixly Workspace service
From here, select the '
Manage Email Accounts' option...
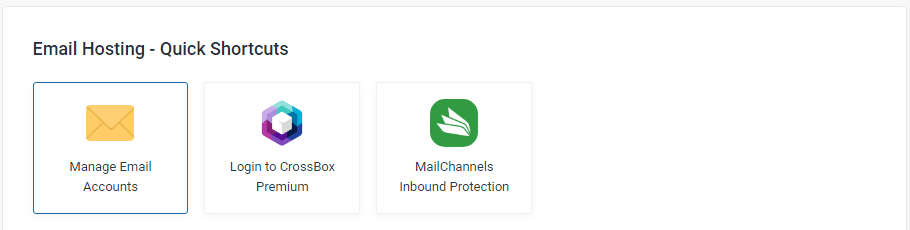
Click 'Create Email Account', then enter 'admin' as the mailbox user as follows...
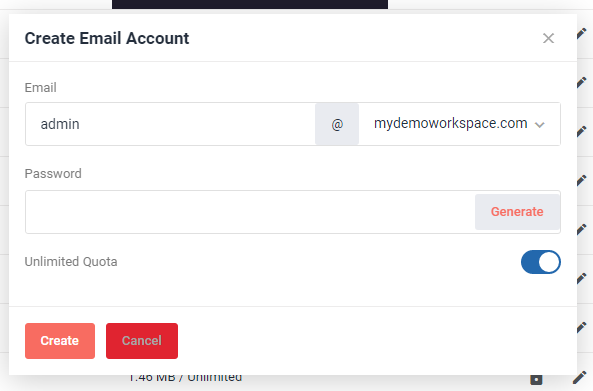
Important: Make a note of the password you have set, as this will be required to access the administrative / branding interface of CrossBox.
Access the 'admin' / branding area of Brixly Workspace
Now that you have created the administrative user of your brand, you can use those details to login to the Brixly Workspace interface / webmail on the standard URL...
https://mail.hostns.io
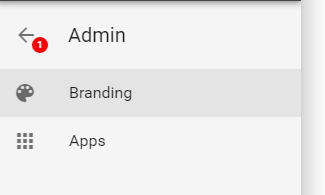
Once you have accessed the Workspace, you will see an additional option within the menu on the left-hand side...
Admin ->
Branding
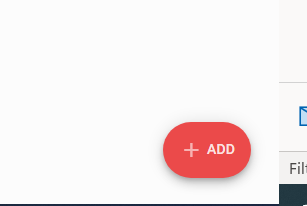
Once you have selected 'Branding', click the '+' button in the bottom-right hand corner of your screen...
Configure your Branding / URL
From this screen, you will be able to enter the details of your brand. See the following as an example...
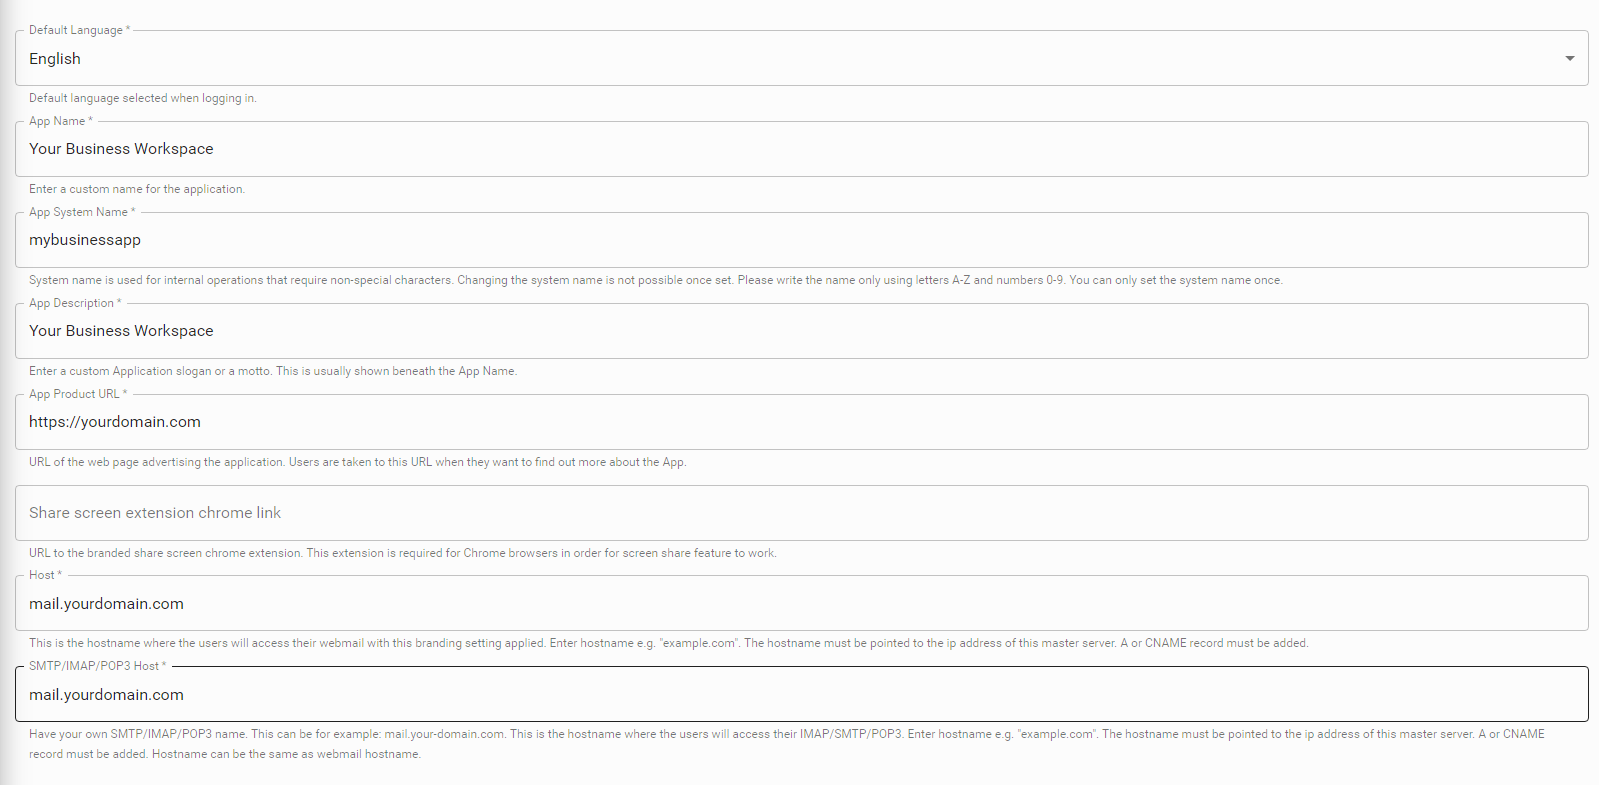
Note: The 'Host' is the URL that will be used for webmail access, and the 'SMTP / IMAP / POP3 Host' is the hostname that would be used for incoming/outgoing connections. It is possible for the two values to be the same, if preferred.
In order to use a custom record for host or SMTP hosts, you will need to add a CNAME record to your DNS, which points to...
mail.hostns.io
Once done, you can save the changes. You will then be presented with the following...
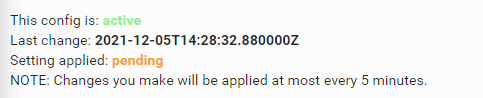
Within a few minutes, an SSL certificate will be automatically applied to the subdomain, and your branding configuration will be applied!