Limitations and Important Considerations
- Please note that Dedicated IP addresses are exclusively available to clients hosted on our UK infrastructure.
- Dedicated IP addresses are only available to cPanel hosting services (Shared, Premium or Reseller Hosting) - for purchases of IP addresses on non-UK infrastructure, please contact our sales team for more information.
- A dedicated IP address is not used for outbound mail, due to the fact that mail is routed through our premium SMTP relay, MailChannels. A dedicated IP address will not improve deliverability.
- A single purchased Dedicated IP address cannot be used in between multiple services. However, a dedicated IP address can be allocated to multiple accounts within a single service (for example, a reseller account).
- Once a dedicated IP address is purchased, it is not automatically assigned to the accounts. Assigning an IP address to any given account is done through the steps outlined below.
- A single reseller account can have multiple purchased dedicated IP addresses, and each IP can be allocated to any individual user or multiple users.
- The dedicated IP address allocated to a 'reseller' accounts primary user, will be automatically used for newly created cPanel accounts.
- IP address changes require backend rebuilds of Apache, and a reload of the Apache / Litespeed service - as such, once an IP address is updated there may be a short period of downtime (usually lasting 15 minutes or less) whilst the background processes complete.
- If a domain uses our nameservers or custom nameservers that resolve to our nameserver cluster, then the DNS changes are made automatically.
- If you manage your DNS externally (such as Cloudflare), the A record will need to be updated to the new IP address for the domain.
Purchasing a Dedicated IP
You are able to purchase a Dedicated IP address from our client area, by navigating to Services ->
View Available Addons
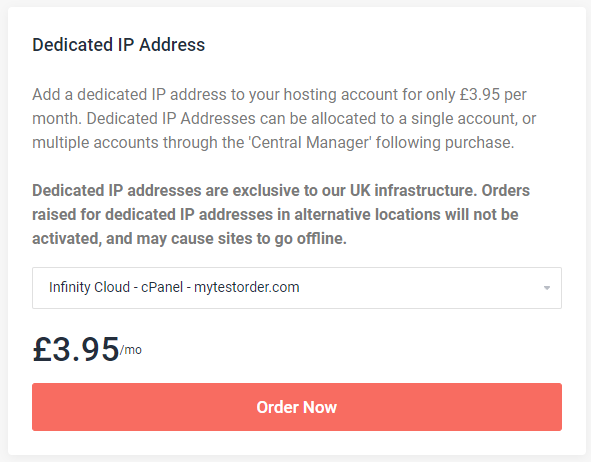
In the dropdown provided, select the 'service' you wish to associate the Dedicated IP address to, then click '
Order Now'.
Once the IP address has been added to the cart, the pricing will be based on 'pro-rata' invoicing, so that future renewals take place on the same billing date as its 'parent' service.

Select the number of IP addresses required, and continue through the cart. Once this has been done, the IP addresses will be added automatically to a 'pool', available for use.
Note: The IP addresses are not automatically allocated to an account. There is an intentional, secondary step required that allows you to allocate an IP address to a related user (see below).
Allocating a Dedicated IP Address
Once you have purchased a dedicated IP address, you will then need to allocate the dedicated IP address to an account, or multiple accounts.
To get started, log in to our client area, then navigate to 'Reseller Tools -> Central Manager'. Once you are in the interface, you will see something similar to the following...
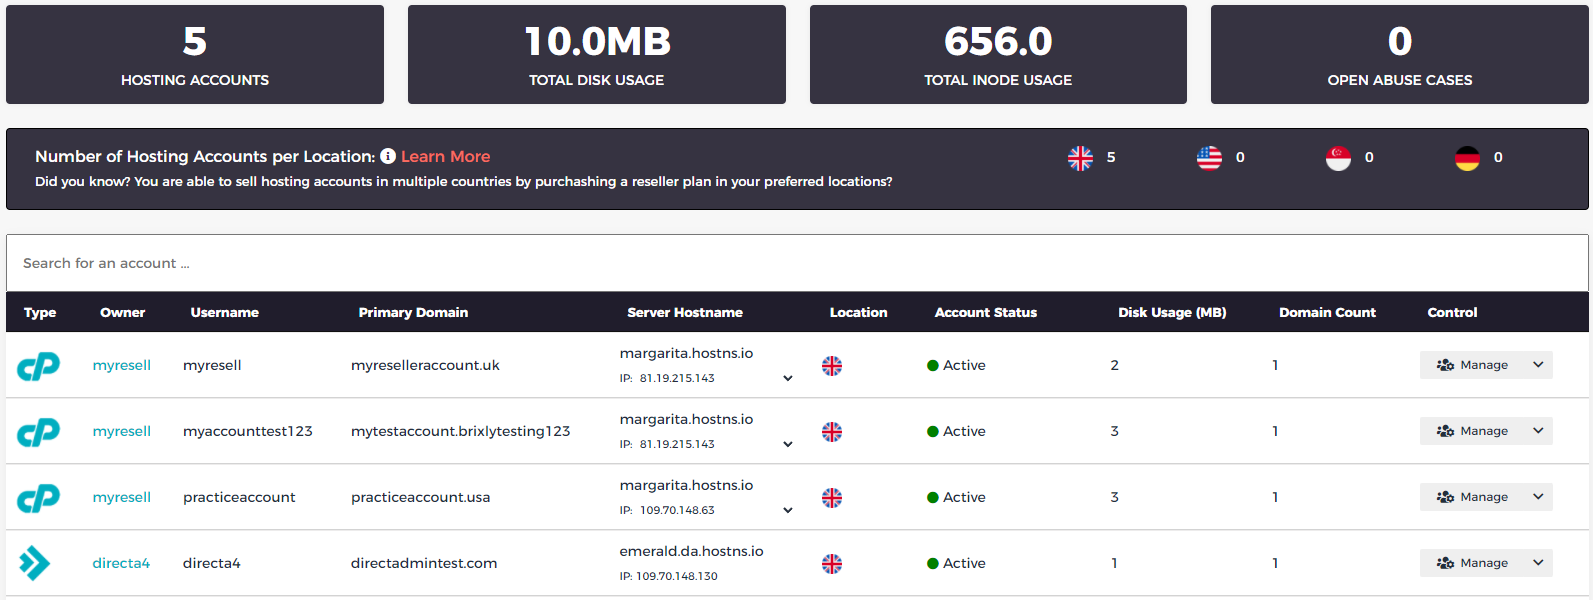
As you can see, against any 'UK cPanel' account, you now have a dropdown available. If you have spare IP addresses in your Dedicated IP 'pool' (based on them being purchased using the steps above), then they will appear in the dropdown provided next to the 'IP' section above.
From here, select the dropdown of the user you wish to update, and select the new IP address, as follows...

Once you have selected the new IP address, a notification will display on the screen confirming the changes have been made...
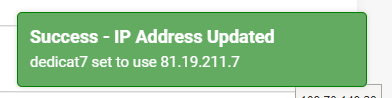
As outlined above, a process follows where Apache / Litespeed configurations are updated automatically - please allow 15 minutes of potential downtime for the changes to complete.
Setting a 'Primary' or 'Shared' IP Address as a Reseller
If you are a reseller, you may wish for all 'future' accounts that are created to use a specific dedicated IP address. To do so, you must assign the dedicated IP address to the 'primary' user of your reseller account.
In doing so, any new accounts created within WHM, or via the WHMAPI would automatically use the IP address assigned to that primary account.
If you experience any issues, feel free to reach out to our 24/7 support team who would be more than happy to assist. When raising a ticket, please ensure you provide screenshots of the errors being received, along with the correlating screenshots of the interface above so that we can best narrow down the issue for you.