The SpamExperts destination defines the server address where email is delivered - it should be set to your domain name. If your domain name points externally, you need to set the address to the server hostname - you can find this information in your welcome email.
SpamExperts Destinations used to be called SpamExperts Routes - and this did cause some confusion as there is also cPanel Email Routing - which is different. cPanel Email Routing sets whether email for your domain is dealt with by a local or remote mail server, and relates to your mail server MX records. You must be using Brixly's MX records and your Email Routing must be set to local in order to use SpamExperts.
The SpamExperts Destination simply defines the place the scanned email is sent - which will almost always be your domain name.
You may need to update the SpamExperts Destination if you change your DNS A record to point away from Brixly - for example, if you are using a CDN like Cloudflare.
Accessing SpamExperts
cPanel > Email > SpamExperts

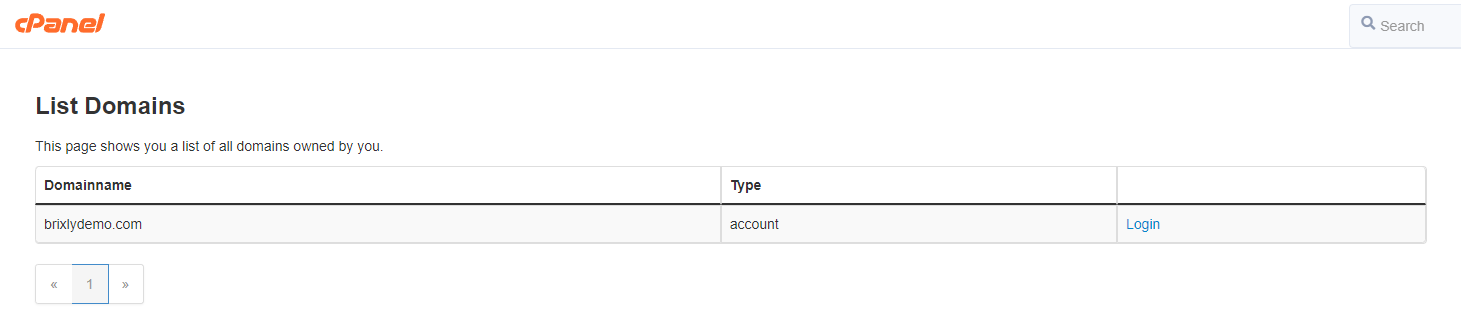
On the next screen, you will see a list of domains within this cPanel account - click
Login to enter the SpamExperts configuration for that domain
IMPORTANT: If your domain is not yet using SpamExperts, clicking 'Login' will automatically provision the MX records against your domain, based on your 'Email Routing' being set to either 'Local', or 'Auto'. If your domain uses a Remote Exchanger via cPanel then the domain's MX records will be unaffected.
Managing Destinations
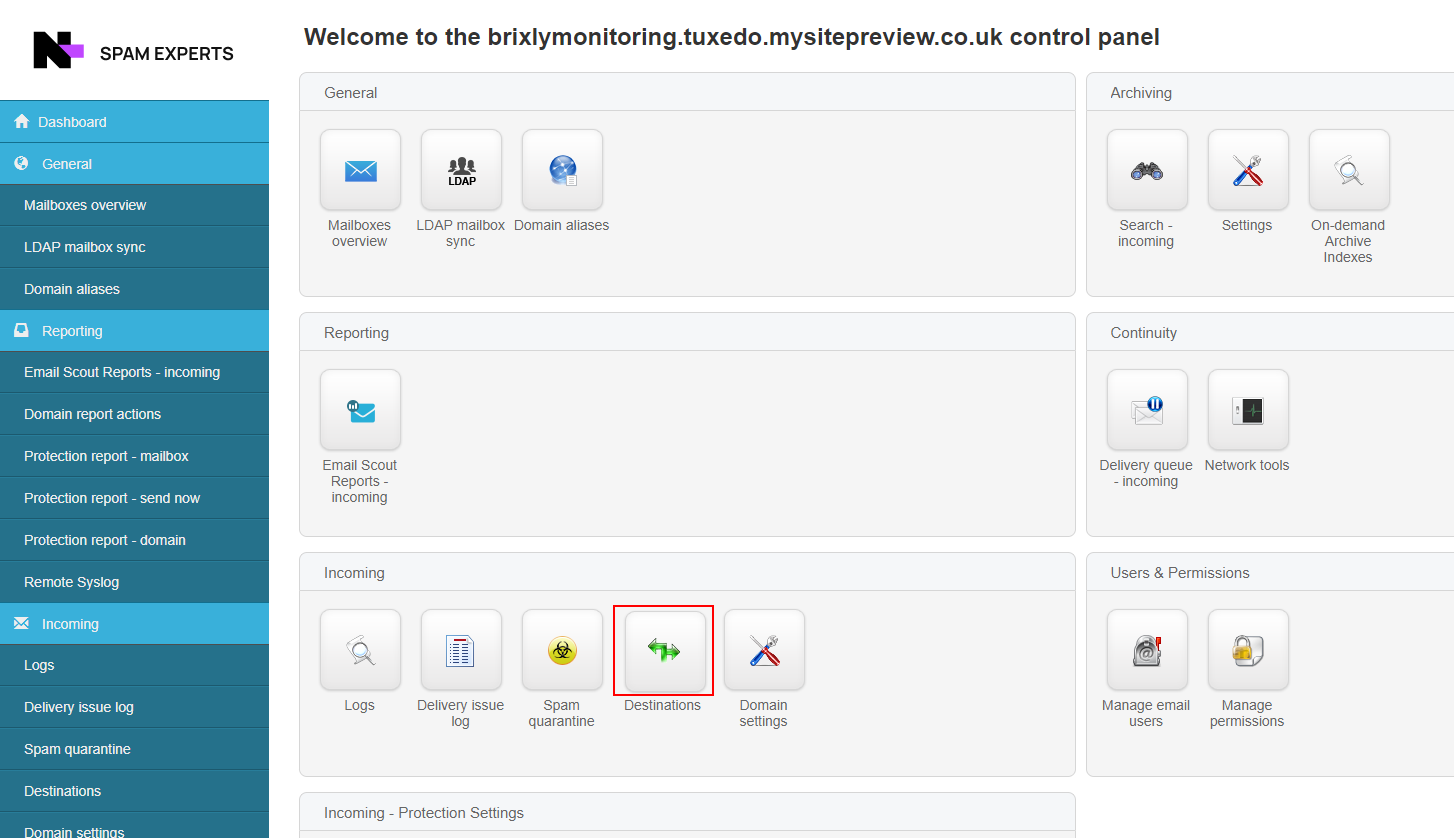
Click the
Destinations icon
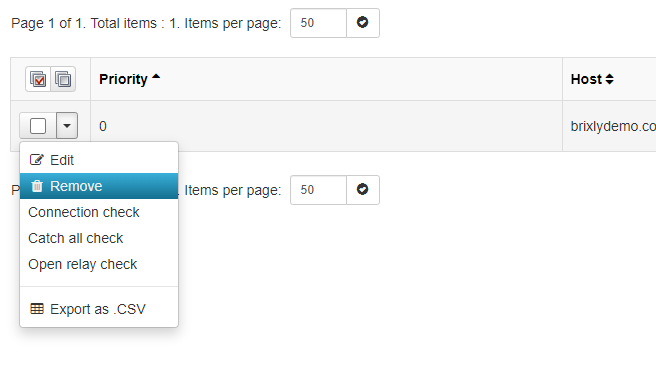
You should now see the destination list - and hopefully, it'll show your domain name or server hostname. If it does show either of these then your destination is set correctly.

If this does not show the correct server you can either click
+ Add a destination to add a new one - entering the Priority as 0, the correct home server name and Port 25; or you can edit the existing record - click the drop-down icon and select
Edit.

If you add a new record first you will then need to Remove any other records - again, by clicking the drop-down next to the old record and clicking
Remove.